Adding New Users
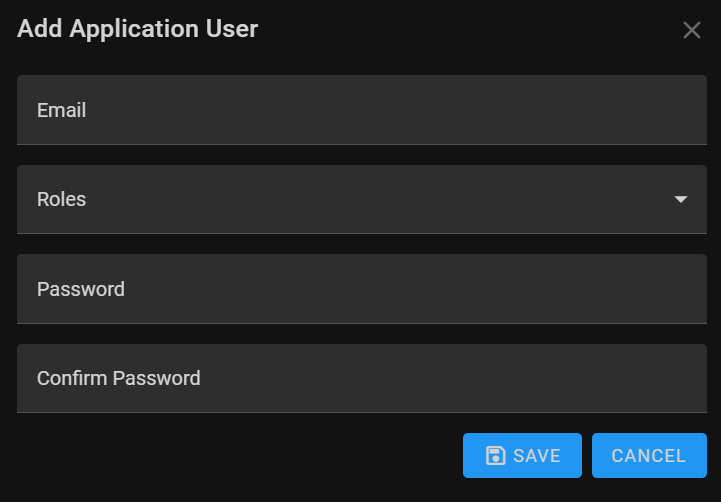
To add a new user to the system, follow these simple steps. Navigate to the Users page and click add, When initiating the process, a dialog box will appear, allowing you to input the necessary information. Here’s a breakdown of the fields you need to fill in:
-
Email
This will be provided by your system administrator. While the format of the username must be in e-mail format the actual e-mail address need not exist.Required: Yes Validation: Must be in the form of a valid e-mail address. Example: yourusername@example.com -
Roles (Dropdown Checkboxes)
Select the appropriate role(s) for the user from the dropdown checkboxes. Roles define the user’s permissions and access levels within the system. Choose one or multiple roles based on the user’s responsibilities. Available roles may include Admin, User, or other custom roles tailored to your organization's needs. -
Password
The Password To ensure secure access. Passwords are case-sensitive, meaning "Password123" and "password123" would be considered different.Required: Yes Validation: The password must be six characters long, one uppercase letter, one lowercase letter, a digit and one alphanumeric character. Example: Password1! -
Confirm Password
Re-enter the password in this field to confirm and ensure its accuracy. This step prevents typographical errors and ensures the user has entered the intended password.
Once you have filled in the required fields, click the appropriate button (e.g., 'Add User' or 'Save') within the dialog box to confirm the user addition. The system will process the information, and the new user will be successfully added, ready to access the specified functionalities based on their assigned roles.