Roles
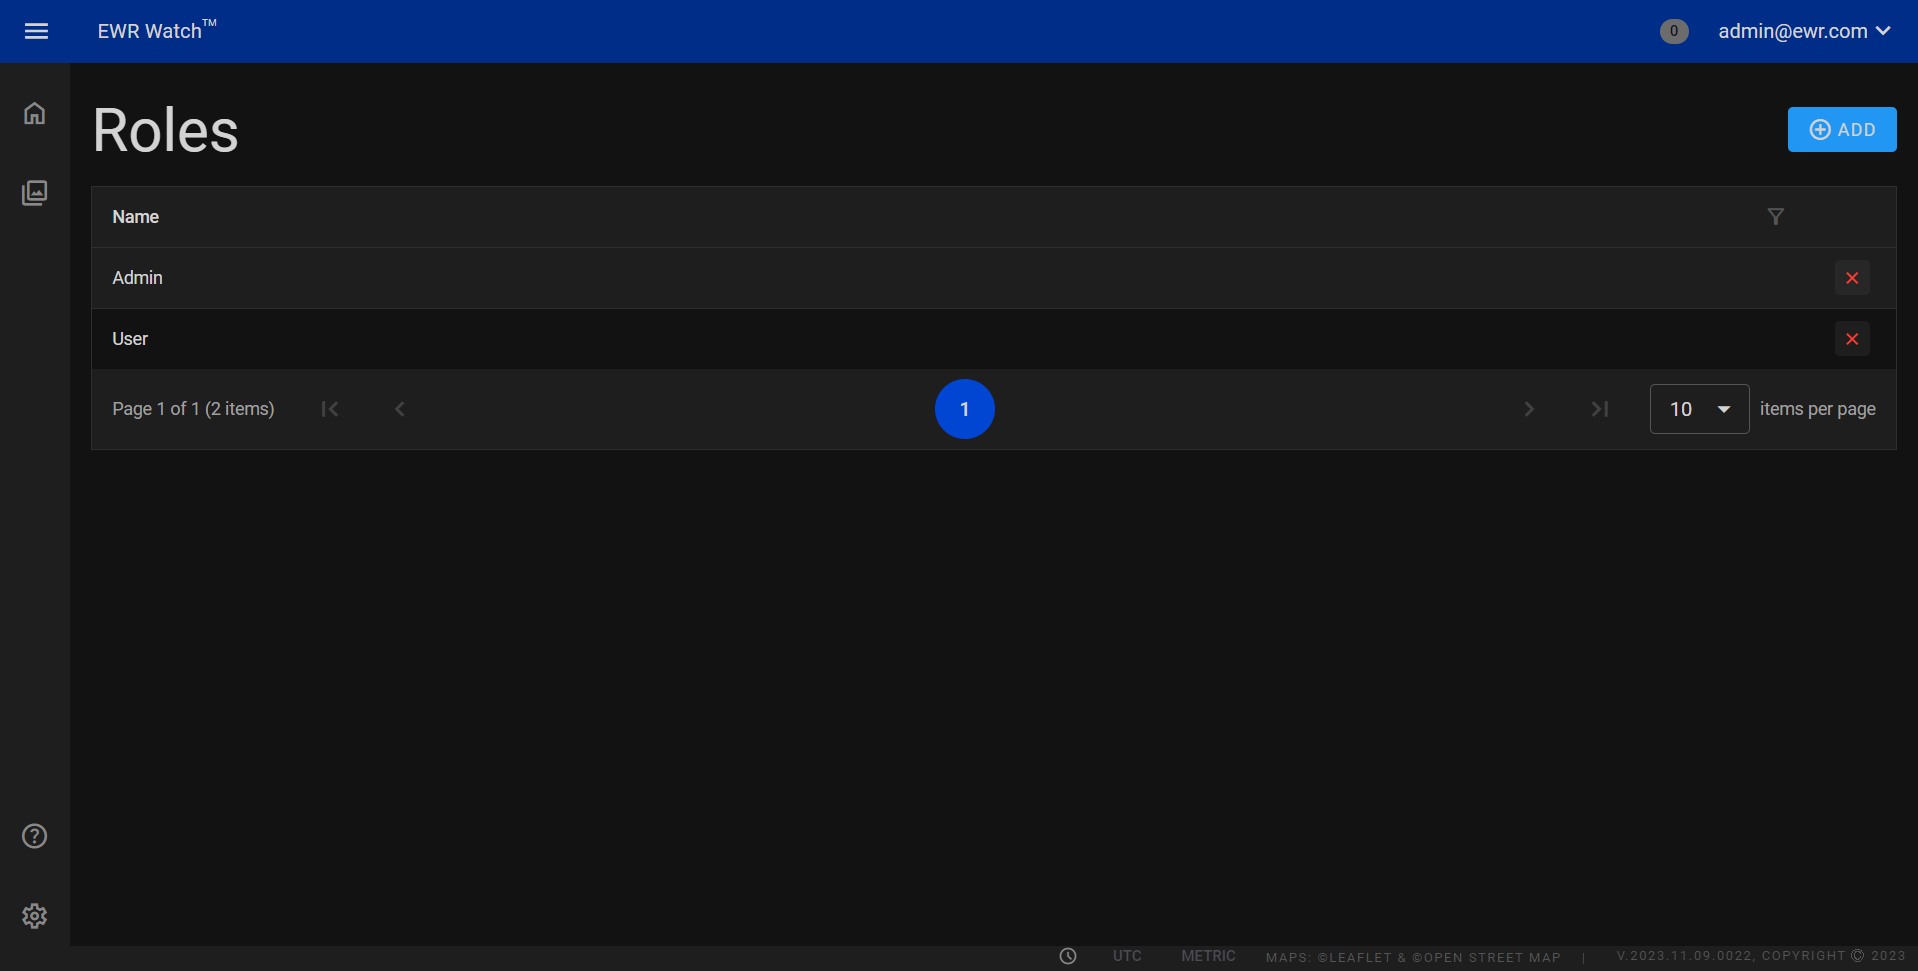
The Roles Page within our interface serves as the central hub for administrators to define and manage user roles within the system. Designed with simplicity and efficiency in mind, this page empowers administrators to assign specific privileges and access levels to individual users, ensuring seamless and secure operation of the application.
Key Features
-
Role Management:
The Roles Page offers a comprehensive list of predefined roles, each crafted to match specific responsibilities within the system. Administrators can easily view, edit, or create new roles based on the unique requirements of their organization. -
Customization:
Administrators have the flexibility to customize roles to align with their organizational structure. From basic user roles to advanced administrative positions, each role can be tailored to grant or restrict access to various features and functionalities within the program. -
Permission Assignment:
This page allows administrators to assign granular permissions to roles. Whether it's granting read-only access, editing capabilities, or full administrative privileges, the system provides a detailed breakdown of permissions for precise control over user activities.
By utilizing the Roles Page, administrators can maintain a well-organized user hierarchy, optimize task delegation, and uphold data security, ensuring a seamless user experience for all stakeholders.
Actions
- Delete
Clicking Delete removes the respective role from the system. This action is useful when decluttering the interface. Users can confidently remove redundant or obsolete roles, streamlining the application's management process.
Add Role
To add a role, follow these simple steps:
-
Navigate to Roles Page
Access the Roles Page from the program's main menu. This page serves as the centralized hub for managing user roles. -
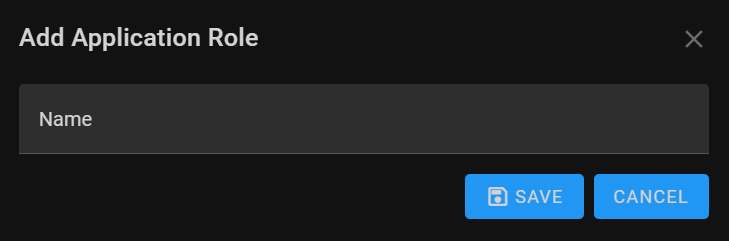
Click on "Add Role"
On the Roles Page, locate the "Add Role" button or option. Clicking on this button will initiate the role creation process. -
Enter Role Name
In the prompted dialogue box, provide a meaningful and descriptive name for the new role. This name serves as an identifier for the role within the system. -
Save the Role
After entering the role name, click the "Save" button to confirm the creation of the new role. The system will then create the role with the specified name.